How to Replace A Trilennium Multipoint Door Lock Gear
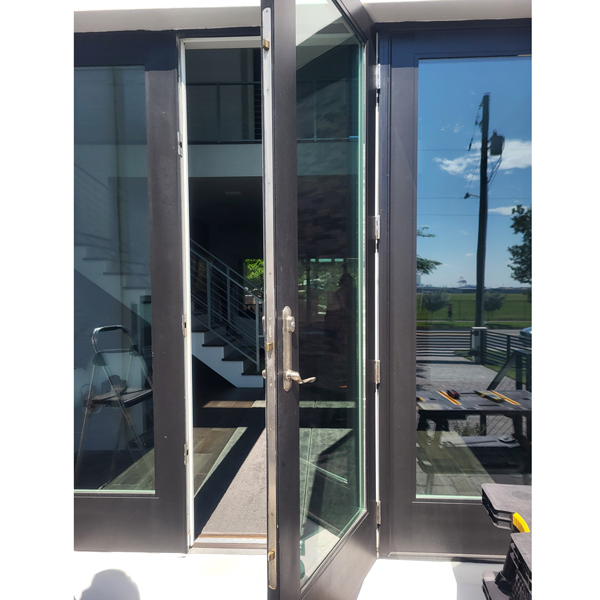
This guide is to help you replace the gearbox on your Trilennium multipoint door lock. This pertains to our 56-101 gearbox which can be used on any Trilennium multipoint door locking system with a 2-3/8” backset. Our 56-101 is also a suitable replacement for Peachtree IPD multipoint locks.
**Before you begin, check that the latch handing is facing the proper way for your door. If you need to reverse the latch and the panic function, click here before reding below.**
Step 1:
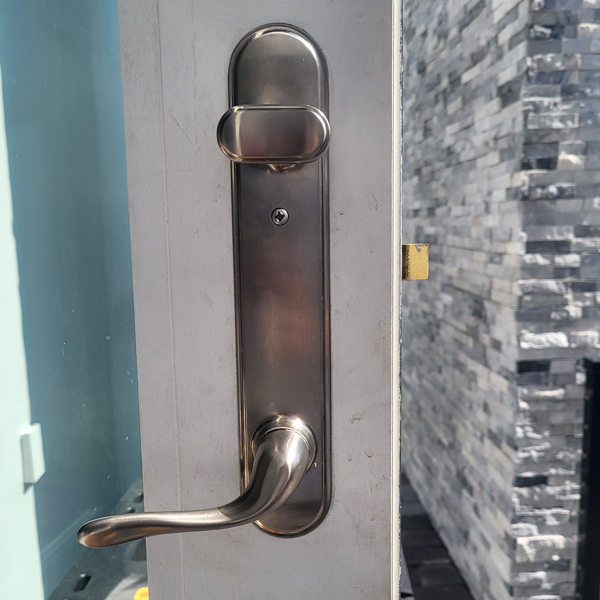
Remove handle trim from the door by removing the 2 Philips head screws on the interior backplate.
Step 2:
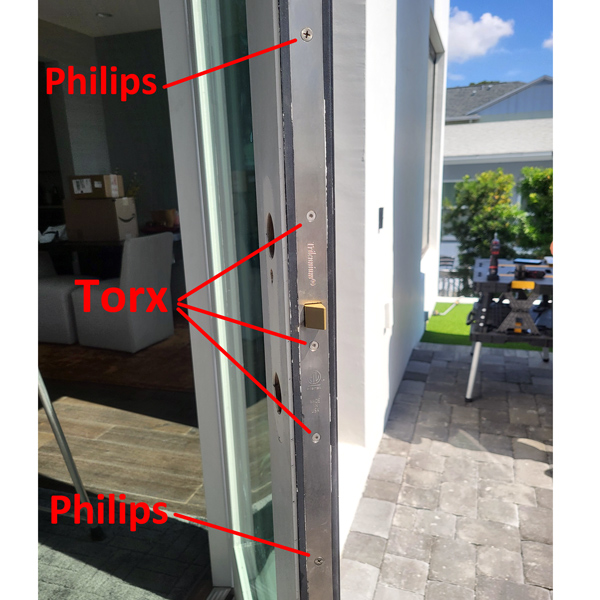
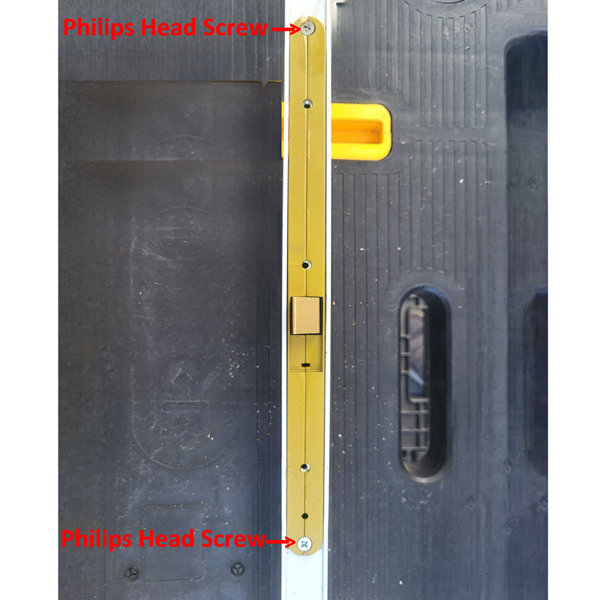
Remove the Philips head screws on the side of the door that are holding the lock to the door. Remove all Philips screws from top to bottom. Skip the torx head screws.
With all the Philips head screws removed, you can now remove the lock from the door.
Step 3:
With the lock removed from the door, the next step is to remove all the torx head screws from the face of the lock. These screws hold the faceplate cover to the drive rail. After removing all the torx screws, remove the faceplate cover and set aside.
Step 4:
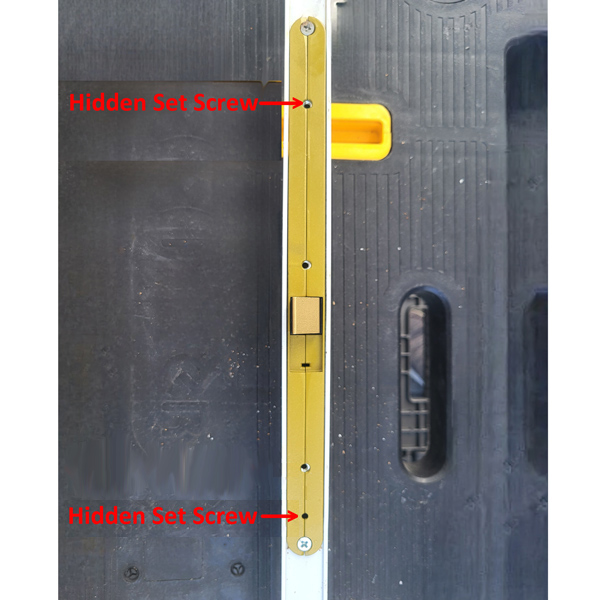
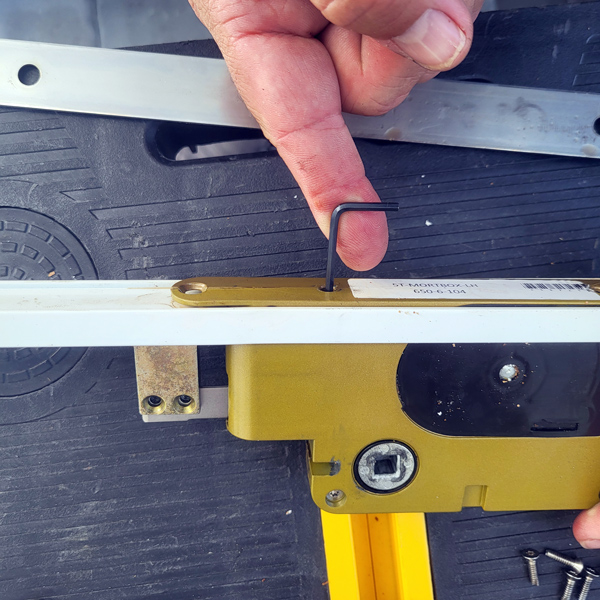
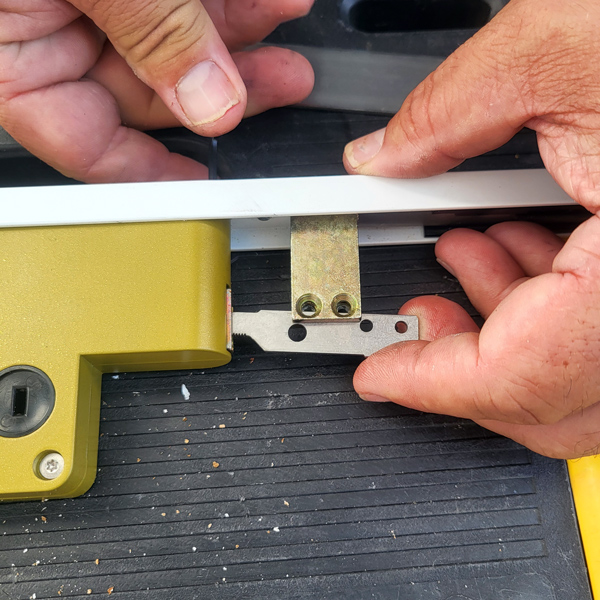
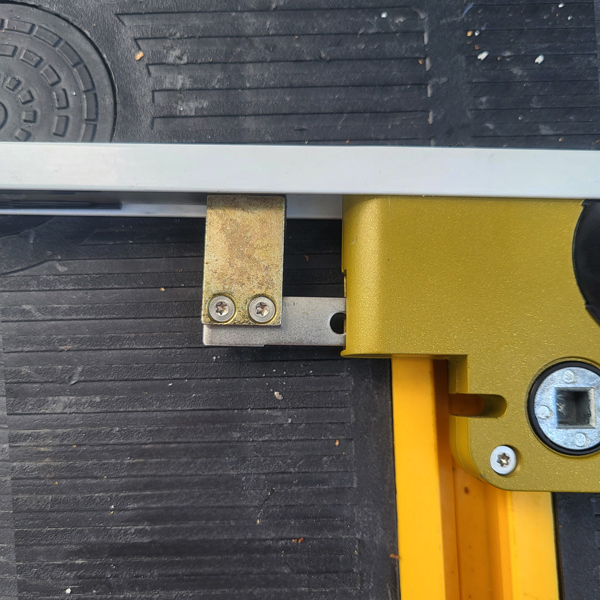
A) Now you need to remove the upper and lower drive bars going into the top and bottom of the gearbox. To do so, insert a flat head screw driver into the black slot and turn it to engage the lock to the locked position. Looking at the face of the lock, you will want to loosen the 2 hidden 3/32” hex head set screws inside the lock. See photo below of hidden hex screw locations.
**To loosen the hex screws, the gearbox must be in the locked position. You are only loosening the screws, they do not actually come out.**
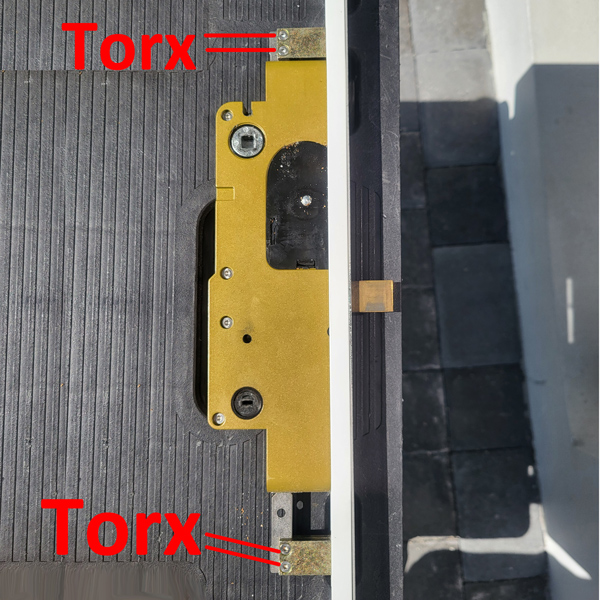
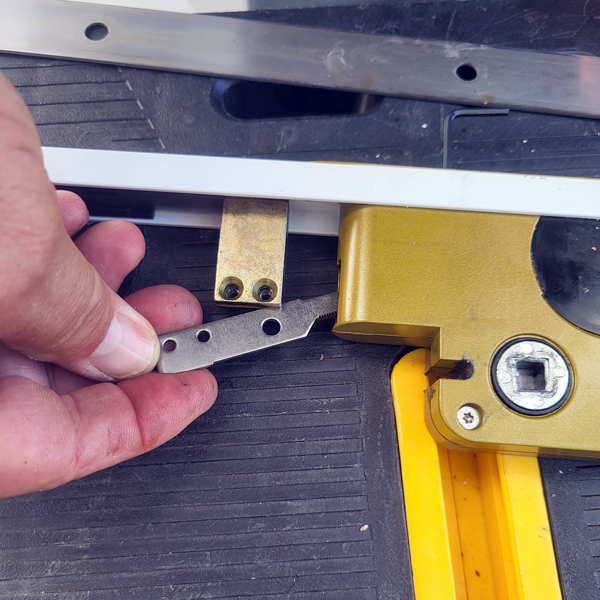
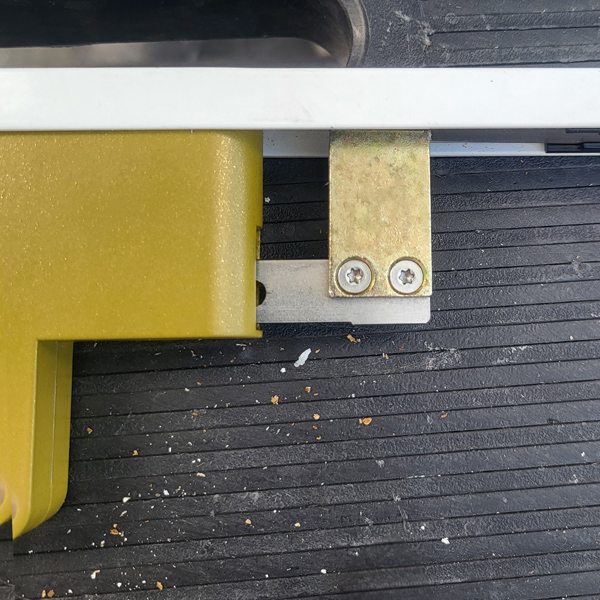
B) Flip the lock on its side and then you will remove the 2 torx screws holding the upper drive bar and the 2 torx screws holding the lower drive bar in place. Once the 4 screws total are removed, you can slide up and down on the drive bars to remove them and set them aside as you will be reusing them.
Step 5:
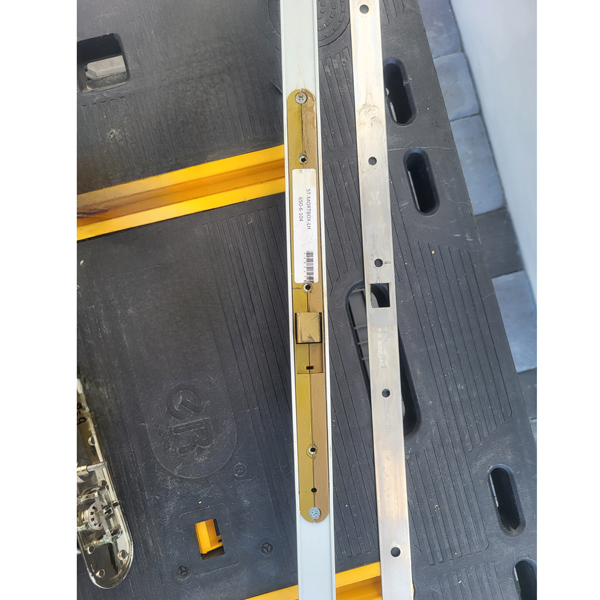
Remove the 2 Philips head screws holding the gearbox in place and remove.
Step 6:
Insert the new gearbox in place of the old one and reattach the 2 Philips head screws holding the gearbox in place to the drive rail.
Step 7:
A) Slide the drive bars back into the gearbox and then retighten the 2 hidden hex set screw.
**Make sure the set screw is fully tighten to avoid operational issues.**
B) Reattach the 2 upper and 2 lower torx head screws to the drive bar to connect the gearbox drive bars to the drive rail.
Step 8:
Reattach the faceplate cover to the drive rail by reinstalling all the torx head screws on the face of the lock.
Step 9:
Insert the lock back into the door and reinstall the Philips head screws removed to hold the lock inside the door.

Step 10:
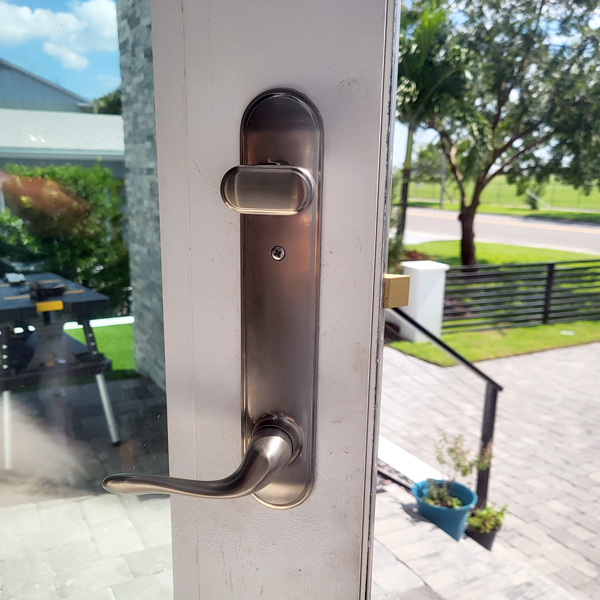
Install the handle set back on the door.
Step 11:
Test functionality with the door in the OPEN POSITION.
You have successfully installed your multipoint door lock replacement. We also carry replacement handles, auxiliary latches and handle bushing kits here at WindowAndDoorParts.Us.
If you need assistance with installing your lock or have questions, please reach out to us at 727-386-4629 or Sales@WindowAndDoorParts.Us.
- 0 items